Embarking on a digital declutter? Understanding ‘Other Volumes in Container’ on your Mac is akin to decoding the esoteric language of your Macintosh storage space. This guide will elucidate the intricacies of Mac storage, offering you clear insights and control over your digital domain.
Understanding ‘Other Volumes in Container’ on Mac
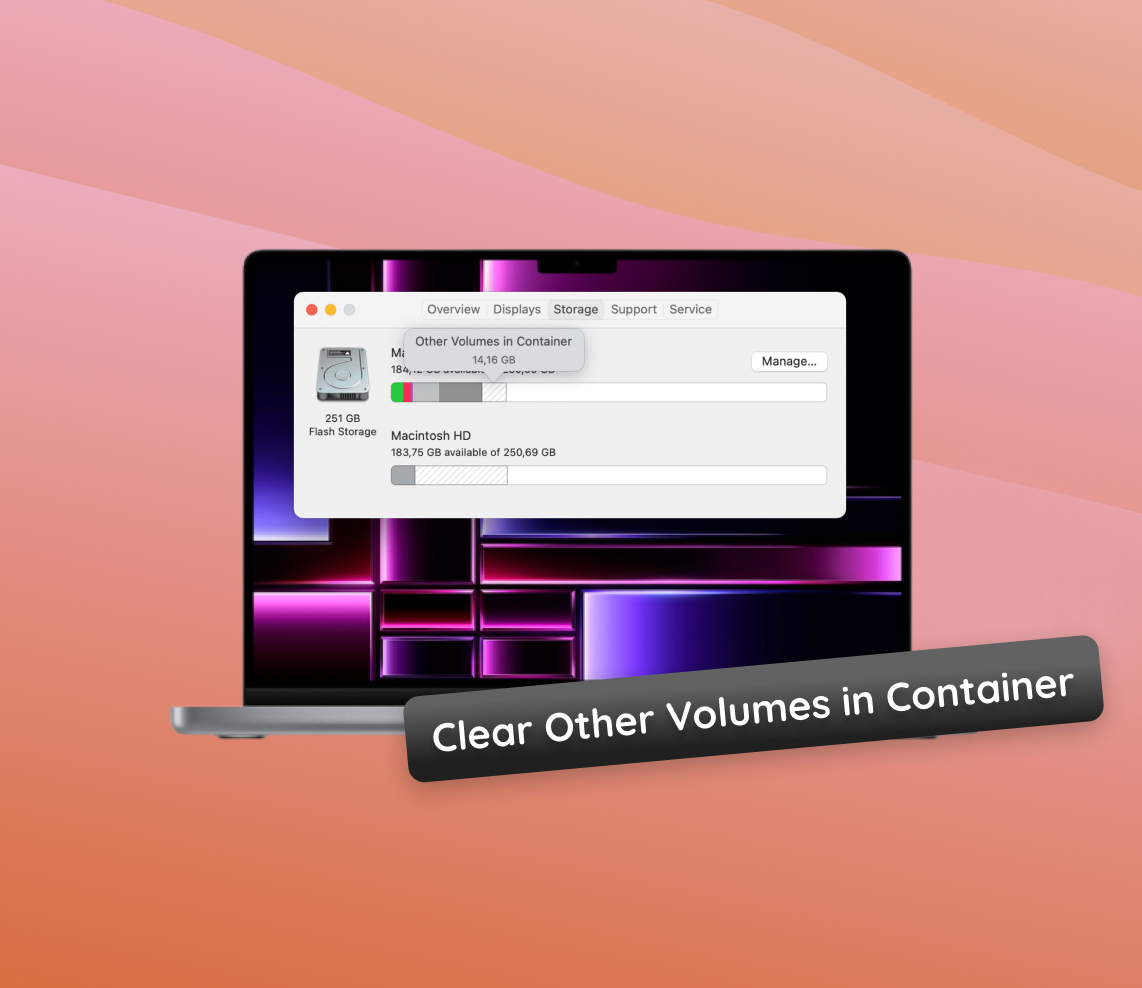
Curious about what ‘Other Volumes in Container’ means on your Mac? It’s a bit like discovering a secret compartment in your desk—this feature is integral to your Mac’s storage management, organizing data seamlessly behind the scenes.
Here’s a succinct guide:
- Containers are akin to expansive drawers in your Mac’s filing system, allowing for neatly organized storage sections.
- Within these containers, volumes act as individual compartments for various types of data.
Typically, ‘Other Volumes’ may encompass:
- Crucial system recovery data.
- Files for virtual memory that bolster your ongoing tasks.
- Backups and transient files your applications require to function smoothly.
Why should you ponder over cleansing these? If you’re aiming to clear other volumes on your Mac, it’s about ensuring your storage isn’t squandered on the superfluous. Exercise caution—expunging the incorrect files can be detrimental, akin to misplacing a vital document, so ensure you’re discarding only the expendable.
Why Clear Other Volumes in Container on Mac?
Has your Mac’s performance dwindled? It might be prudent to remove other volumes in container on your Mac. Here’s why this can be beneficial:
- Reclaiming space: These volumes can amass non-essential system files, monopolizing valuable storage.
- Diagnosing issues: Occasionally, your Mac’s malfunctions may be caused by congested volumes. Cleaning these can reestablish harmony.
Before embarking on this task, it’s imperative to discern what you’re deleting. These volumes could house pivotal backups or system files—thus, an indiscriminate purge could result in the loss of critical data.
Remember: Always back up your Mac before you remove other volumes. It’s akin to an insurance policy for your data, guaranteeing the ability to revert to a prior state if complications arise.
If you’re prepared to cleanse other volumes in Mac, approach with thoroughness yet prudence. It’s about finding the balance between extensive cleaning and retaining indispensable elements.
Steps to Clear Other Volumes on Mac
Regardless if you’re a novice or a veteran Mac user, tidying up those ‘Other Volumes in Container’ can rejuvenate your system. Below are two methods to address this: the user-friendly Disk Utility approach and the more technical Terminal command line. Select your method judiciously!
Option A: Utilize Disk Utility to Erase Other Volumes
Eradicating ‘Other Volumes in Container’ via Disk Utility is straightforward, but proceed with vigilance:
- Launch Disk Utility from the Utilities folder within your Applications directory or employ Spotlight for quick access.
- Find the container disk (often denoted as ‘Container disk1’ or similar) in the sidebar to examine all volumes.
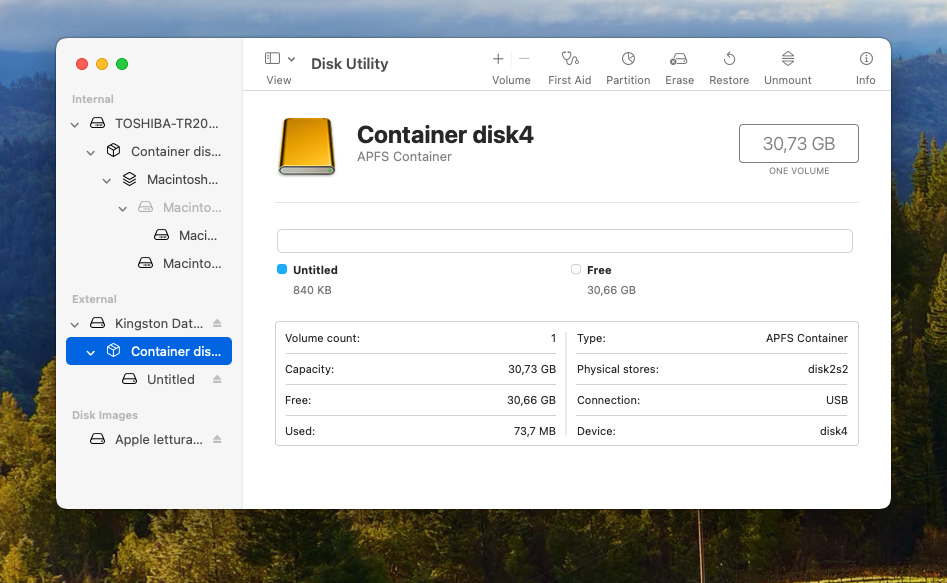
- Pinpoint the volume containing Other Volumes in Container that you aim to remove. Exercise utmost care in selecting the accurate volume.
- Click the ‘Erase’ button, opt for the preferred format, optionally rename the volume, and then affirm by clicking ‘Erase’ again.
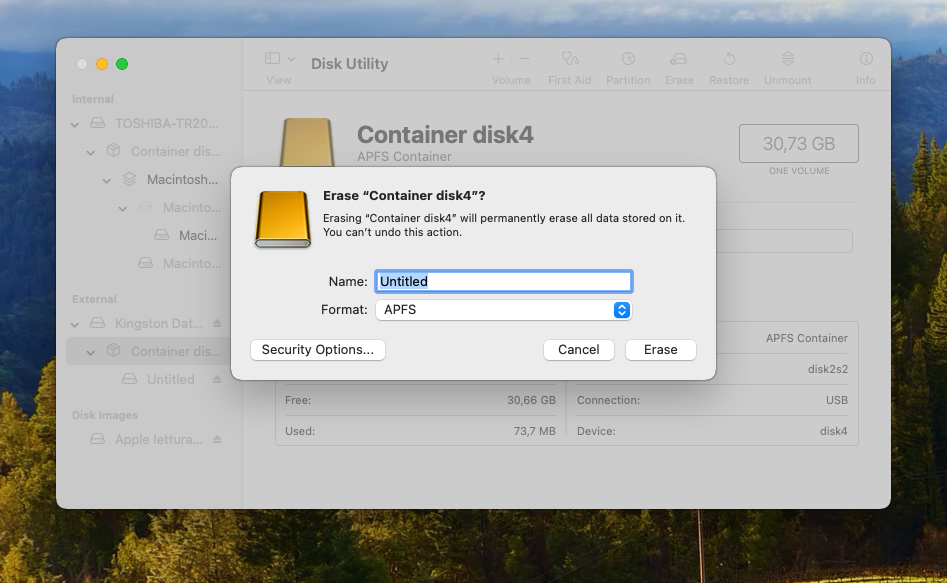
Do not forget to back up any significant data beforehand, as this operation will eliminate all content on the chosen volume. For comprehensive instructions and additional details, read this Apple support article.
Option B: Delete Other Volumes in Mac Using Terminal
If command-line interfaces are within your comfort zone, Terminal offers a potent means to manage your Mac’s volumes. Exercise the following steps with caution:
- Activate Terminal from your Utilities folder or via Spotlight search.
- Determine the ‘Other Volumes in Container’ by executing the command
diskutil listto catalogue all volumes.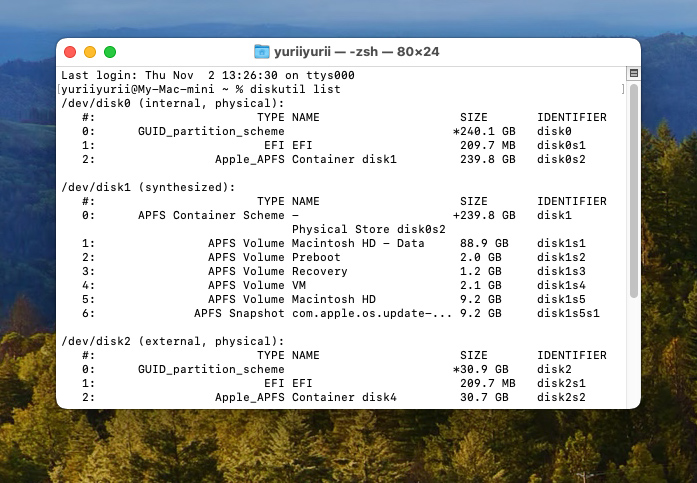
- Once ascertained, employ the command
diskutil eraseVolume FILE_SYSTEM VOLUME_NAMEwhere FILE_SYSTEM is the desired format (such as APFS) and VOLUME_NAME is the name of the volume you wish to erase.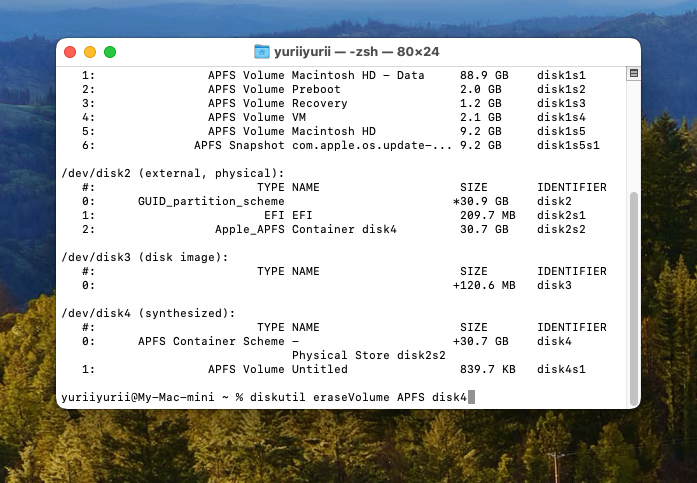
- Validate the action when prompted and await the completion of the process.
Warning: Terminal commands can irrevocably modify your Mac’s data. Use these commands only if you’re confident in their function. Always back up your data prior to taking action. For comprehensive advice, consult Apple’s documentation on Terminal commands here.
Preventing the Creation of Other Volumes
Comparable to a meticulously curated journal, your Mac’s container framework thrives with regular maintenance. The table below outlines practices that can aid in maintaining a streamlined container, thereby reducing the frequency of ‘Other Volumes’ clean-up.
| Action | Benefit | Frequency |
| Review storage usage | Monitor space and identify large files | Monthly |
| Optimize Storage | Automatically remove watched iTunes movies and TV shows | As needed |
| Reduce Clutter | Manually review and delete unnecessary files | Quarterly |
| Update macOS | Stay up to date with the latest storage management tools | With each software update |
| Externalize Storage | Move rarely used files to external or cloud storage | As needed |
| Manage Time Machine Snapshots | Prevent accumulation of local snapshots | After each backup |
For a thorough tutorial on optimizing your Mac’s storage, visit Apple’s official storage optimization page.
Remeber – a proactive stance on file administration is your most effective tactic to minimize the necessity of cleaninf other volumes in your Mac’s container.
Conclusion
Becoming adept with your Mac’s ‘Other Volumes in Container’ is tantamount to assuming command of your digital vessel. Armed with the insights and procedures provided, you’re now equipped to steer through the sometimes opaque depths of macOS storage. Persistent upkeep, akin to a watchful mariner, can forestall the need for extensive clean-ups and ensure your Mac’s performance remains robust. Whether employing Disk Utility or Terminal, always navigate with deliberation—backups are your buoys. Maintain your Mac’s storage in prime condition for effortless operation, and relish the enhanced space and operational efficiency.
FAQ
‘Other Volumes in Container’ refers to partitions within the same APFS container as your main Mac volume. These are usually system-created and can include volumes for Time Machine snapshots, virtual memory, and system caches. They are not directly accessible but serve various system functions.
This often occurs when system processes create data that is not regularly purged, such as local Time Machine backups (snapshots) or cache files. If these files accumulate, they can take up considerable space.
You can manage this space by:
- Deleting Time Machine snapshots via Terminal.
- Turning off Time Machine local backups if they are not needed.
- Using built-in macOS utilities to free up space.
- Restarting your Mac, which can purge certain temporary files.
For persistent issues, it might be necessary to delve deeper into system settings or consult with a professional to avoid data loss.