Formatting an external hard drive on Mac is a crucial decision to make. Though some people may think of data loss when discussing formatting, there are also advantages of doing so, such as optimizing its performance, removing all the data all at once, and ensuring its compatibility with your macOS device.
Whether your drive uses a file system that is not compatible with macOS or your drive is brand new and was sold without a file system, we’ll discuss how to format an external hard drive for Mac.
Understanding External Hard Drive (File System) Formats for Mac
For Mac users, formatting the external hard drive is often necessary to ensure optimal performance and compatibility. There are several file system formats, and not all are compatible with macOS. Thus, formatting the drive lets you choose a file system that can work with macOS.
Aside from compatibility, other factors must be considered when choosing a file system, such as file size limits, the macOS version you’re using, if you intend to use the drive with other operating systems, and others. The common file systems for external hard drives on Mac are listed below, along with their capacities and limitations.
- ? Apple File System (APFS) – This is the default file system for Mac computers running on High Sierra and later systems. It is optimized for SSD storage used in the latest macOS, which means it is also flexible with traditional hard disk drives and external direct-attached storage drives. The maximum file and volume size allowable in this file system is 8EB, and uses 64-bit inode numbers.
- ? Hierarchical File System Plus (HFS+) – This file system is used in macOS Sierra and earlier. This was the first macOS X journaling file system until it was replaced with APFS. It employs a 32-bit value to address allocation blocks and may contain up to 2.1B files. The maximum file and volume size allowable in this file system is 8EB. HFS+ is also the most compatible file system for Time Machine, making it a more suitable system for formatting backup drives.
- ? File Allocation Table 32 (FAT32) – This is originally created for small floppy disks. It has a 32-bit value to address allocation blocks and is the only format guaranteed to be compatible with Mac and PCs. It contains a single volume size limit of 8TB and up to 4GB of individual file size limit.
- ? Extensible File Allocation Table (exFAT) – This is considered as the best file system format for external hard drives because it is compatible with all major operating systems, and it can be read and written by Windows, macOS, and Linux with no issues. exFAT also supports bigger files and drives, allowing users to store large files. Single volume size limit can be up to 128PB, and individual size is up to 28PB, making it more powerful than FAT32.
How to Format an External Hard Drive for Mac
Formatting an external hard drive on a Mac allows the user to prepare the drive for use, whether for backup purposes, additional storage, or compatibility with your hard drive between different systems. However, not all Mac users are knowledgeable about formatting an external hard drive. Hence listed below are the steps on how to do this:
Step 1: Prepare for Formatting
Before the formatting starts, be sure you plan and prepare everything you need. This will help you secure a smooth formatting process since you don’t have to run around just because you forgot something important. Here are some things you need to prepare:
Back up important data on the external hard drive
Choosing the suitable method to back up your macOS backup is important. However, due to the numerous choices available, it can be quite confusing what to use. To lessen this confusion, here are some recommended ways for macOS backup.
- ? Manual copying – This is the traditional way of data backup. This is applicable if you have a spare external drive to transfer your valuable data.
- ⏱️ Time Machine – This built-in application on Mac automatically back-ups your personal data, apps, music, photos, email, and documents. It has a simple interface, making it easy to use by Mac users. Note that this will work for HFS, HFS+ and APFS, and the restoration will be manual.
- ? SuperDuper! – SuperDuper! is listed as one of the best backup software tools due to its convenience, free features, smart updates, and clone feature that quickly reflects exact changes to the original file. Also, it is easy to use and has maintained its reputation for backup files.
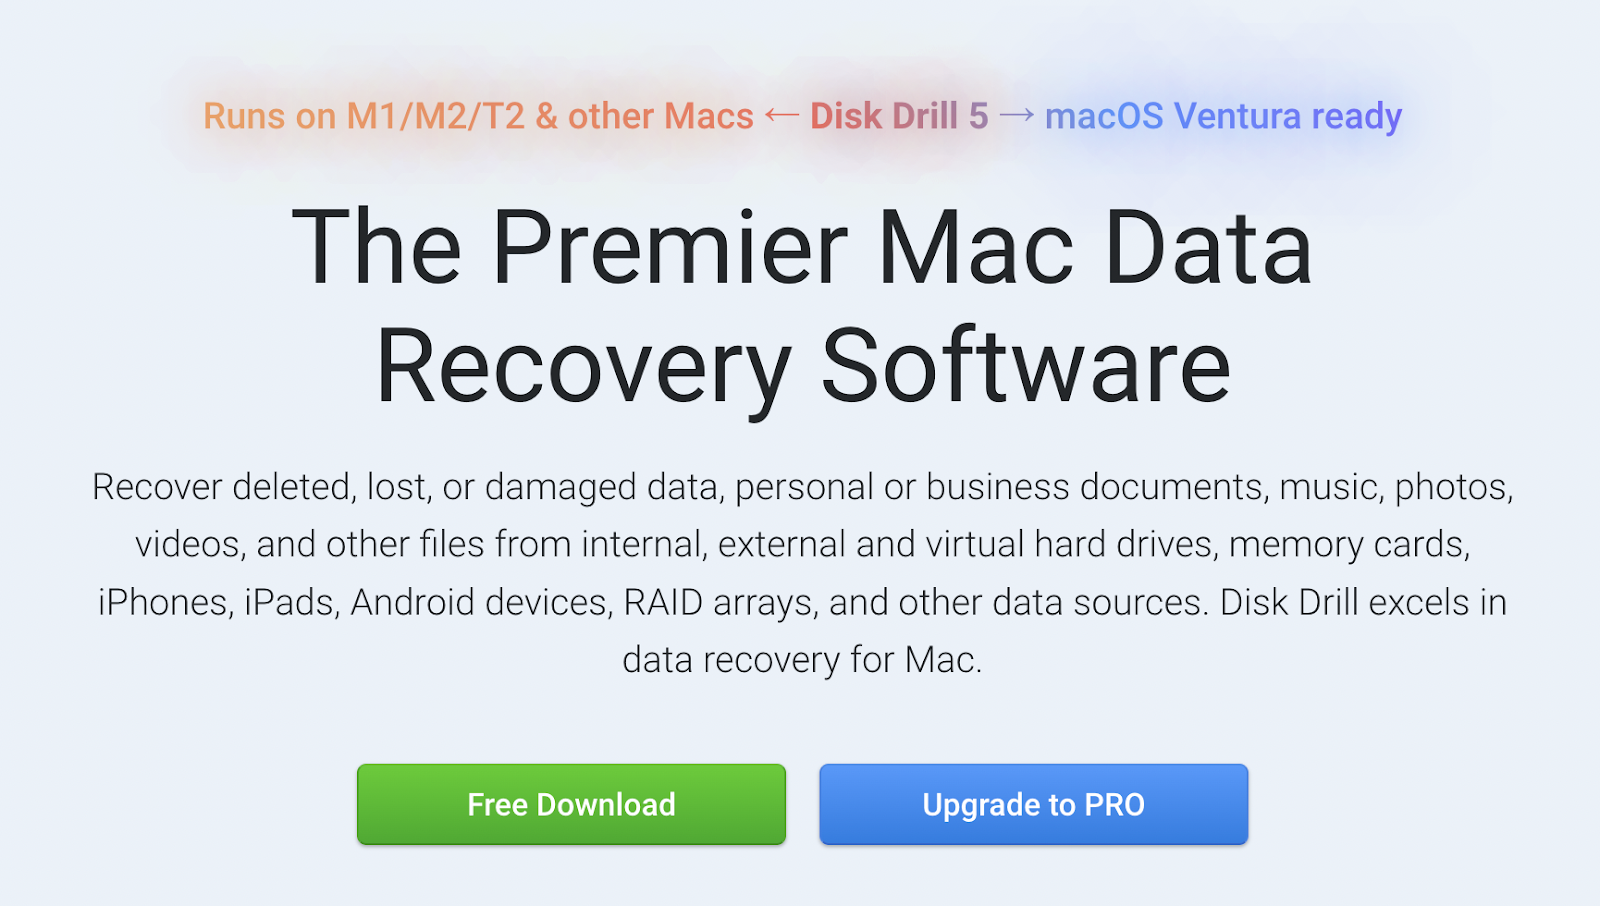
- ? Disk Drill – Disk Drill is a data recovery software with a byte-to-byte backup feature. From the feature’s name, it secures even the smallest KB needed to keep an application running. Its interface is user-friendly, and you don’t need any IT skills to use this app.
Note: not everything on this list would be suitable for backing up disks that have problems with the file system or are formatted exclusively for Windows. If this is the scenario for you, you can use Disk Drill. This software tool can help you find data even on corrupted disks or retrieve data from NTFS disks connected to your Mac.
Ensure a stable power source and connection during the process
Unstable power sources may damage your hard drives and contribute to data loss and corruption. To avoid this, having a good power source and stable connection is a must to secure smooth hard drive formatting.
Verify the compatibility of the external hard drive with your Mac
Ensure that your external hard drive is compatible with your Mac so you can access it without any difficulty. If the drive appears on Mac’s Disk Utility, it’s compatible with your Mac and can now be formatted so you can easily access it in Finder.
In cases where your external hard drive is compatible with your Mac yet is still not accessible with your Mac, then you better check the underlying problems that your drive has. You can also double-check your Finder settings to see if the external drives are not hidden.
Step 2: Format an External Hard Drive for Mac
After preparing everything needed for a smooth formatting process, you may now proceed with the formatting process itself. Provided are the three options you may consider in formatting an external hard drive.
Option A: Using Disk Utility
Disk Utility is a built-in application on Mac that can be used to erase, format, or manage internal and external disks. To format the disk on Mac using Disk Utility, here is a step-by-step guide you may follow.
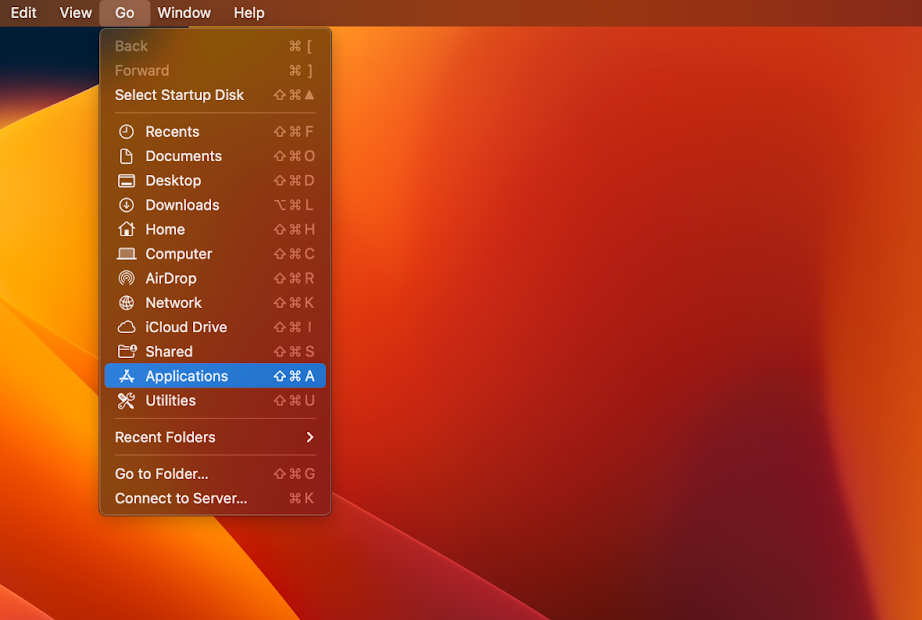
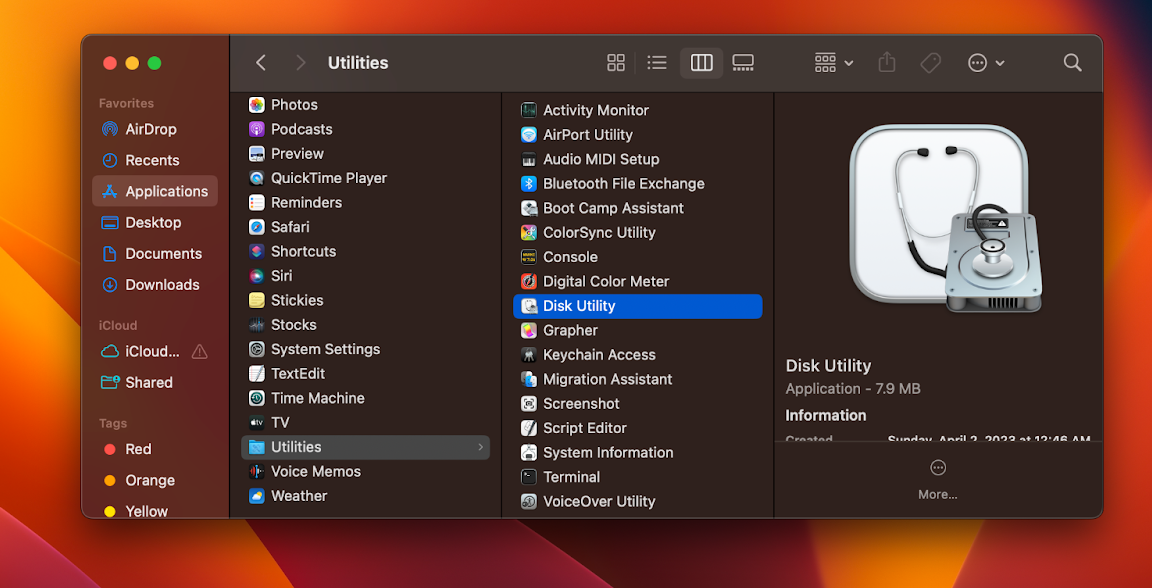
- Launch Disk Utility by clicking Go from your Mac’s menu bar, then select Applications > Utilities > Disk Utility.
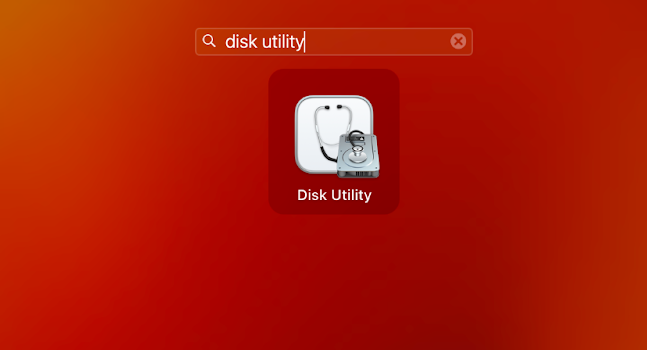
 Alternatively, you can also access Disk Utility by clicking the Launchpad icon in the Dock, type Disk Utility on the Search bar, then double click Disk Utility icon.
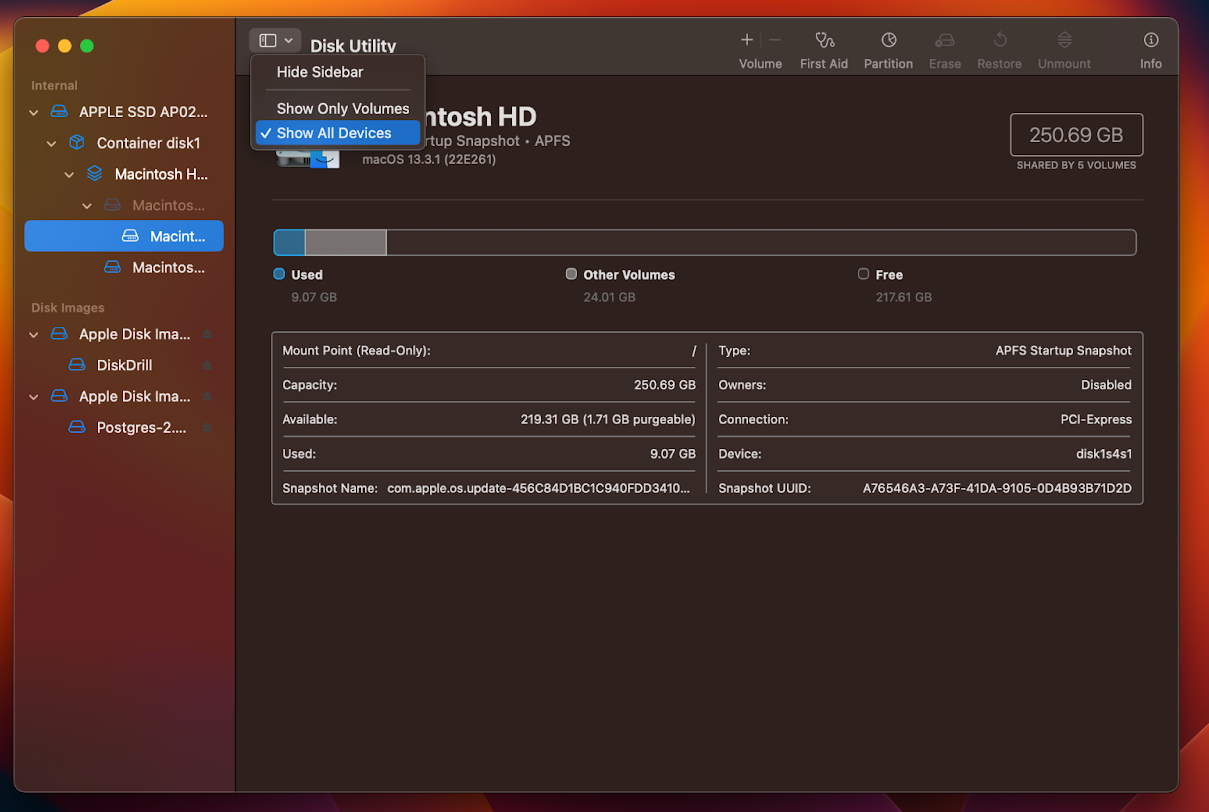
- On the sidebar, identify the external hard drive you want to format. In cases where you can’t find your external drivel, click View and choose Show all devices.
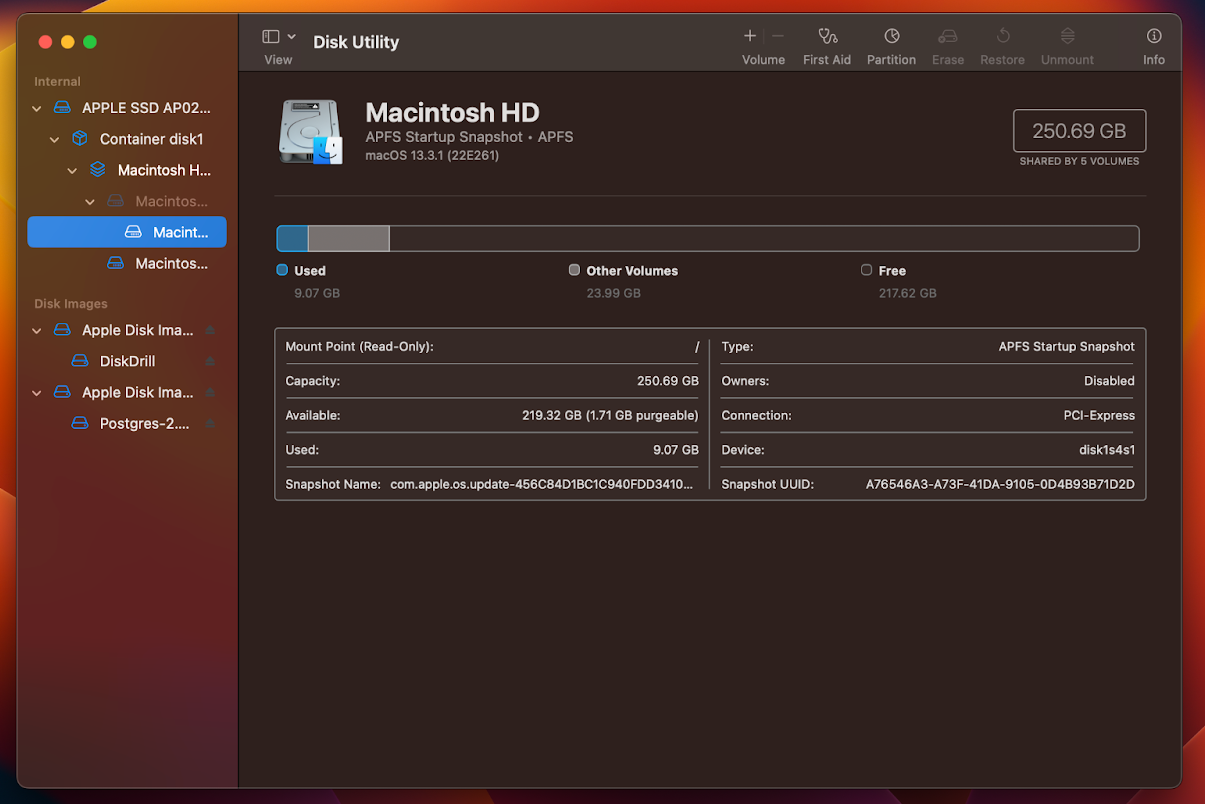
- Select the external hard drive you want to format, and click the Erase button.
- A new window will appear. Click Security Options to secure your formatting. These options let you erase the selected disk or volume to prevent disk recovery applications from recovering it. There are four different levels, option 1 being the fastest and least secure, and option 4 as the most protected. Choose the one you prefer and click OK.
- Enter your desired name for your newly formatted device. Disk name must not exceed 11 characters.
- Confirm the formatting process by clicking Erase, then Done.
Option B: Using Terminal
Terminal is a command-line interface in Mac used when the GUI does not support a specific action or if you used to operate your OS using the command line.
- Launch Terminal by accessing it in Go > Applications > Terminal. You can also access Terminal by clicking the Launchpad icon in Dock, select Others, then double click Terminal.
- Once Terminal has been launched, run the
diskutil list
command to get a list of available drives and their IDs.
- Enter the command:
diskutil eraseDisk FILE_SYSTEM DISK_NAME DISK_IDENTIFIER
To find your DISK_IDENTIFIER, refer to the list provided after you entered the command diskutil list.
Option C: Using third-party applications
There are also third-party applications available that can be used to format external hard drives on Mac.
- ? AweCleaner for Mac – AweCleaner is a powerful multifunctional drive cleaner for macOS. Aside from erasing data from the drive, it also has some other tools like large-file finder, duplicate finder, and others. Even though it is a multifunctional application, it still lacks other features such as the disk wiper. You can purchase this app for a one-time purchase fee of $59.95.
- ? DMmenu for Mac – It is a multifunctional key switcher application that can help reformat your hard drive quickly, but it does not have a wiping function. It is a cost-effective application since it only costs $19.95 for two Macs to erase and delete files and comes with a 30-day trial.
- ? MacClean360 – This multifunctional drive cleaner has a simple user interface with features like trash cleaning, cache cleaning, optimization class features, and other practical tools. However, it has a high-performance requirement, meaning it will take up more system resources when scanning and cleaning. It costs $59.00 to erase and format the drive; no free trial is provided.
Post-Formatting Steps and Troubleshooting Common Issues
Formatting an external hard drive is a time-consuming activity, so to ensure that the formatting of the external hard drive is successful, here are some post-formatting steps that must be kept in mind.
- ✅ Check if the external hard drive’s formatting is successful. Sometimes, formatting an external hard drive may fail due to technical issues such as virus-related issues on the hard drive itself, malware issues on the Mac you are using, or if the hard drive you wished to format was suddenly disengaged. So, before you format the external hard drive again, diagnose the underlying issue first.
- ➡️ Transfer your backed-up data back onto the formatted drive. If the formatting of your external hard drive is successful, you can now transfer all your data back to your newly formatted hard drive.
- ? Safely remove your external hard drive from the Mac. This step is the most forgotten step by most people. Ejecting your external drive safely from Mac will allow you to protect your hard drive from any file corruption.
A smooth and successful post-external hard drive formatting is not always guaranteed. There are some instances that you may encounter some problems after conducting the process. Below, we share some common possible issues after formatting your external hard drive.
- ⚙️ External hard drive is unrecognizable after formatting. You can try to test your external hard drive on another device to see if it works.
- ? Performance of the external hard drive slowing down. This is because it may be corrupted, there’s damaged hardware such as USB cable and port, system files of macOS are damaged, or large files are duplicated on your hard drive.
- ⌨️ Compatibility issues with other devices. Your device must be formatted with a file system compatible with your Mac and other devices you may be using it with.
How to Permanently Erase Formatted Data on Mac to Prevent Data Recovery
It is important to note that formatting your external hard drive doesn’t mean you already get rid of the files you wished to be gone in your hard drive because those data are still recoverable. This is seen as a threat to data privacy because all of your personal files can be accessed by anyone even though you already reformatted your drive as long as they possess the said device. To reduce this incident, some applications offer file shredders.
Just like paper being shredded, file shredders are applications used when you want to erase data without data recovery. This is done by overwriting this storage used with zeros or with random data.
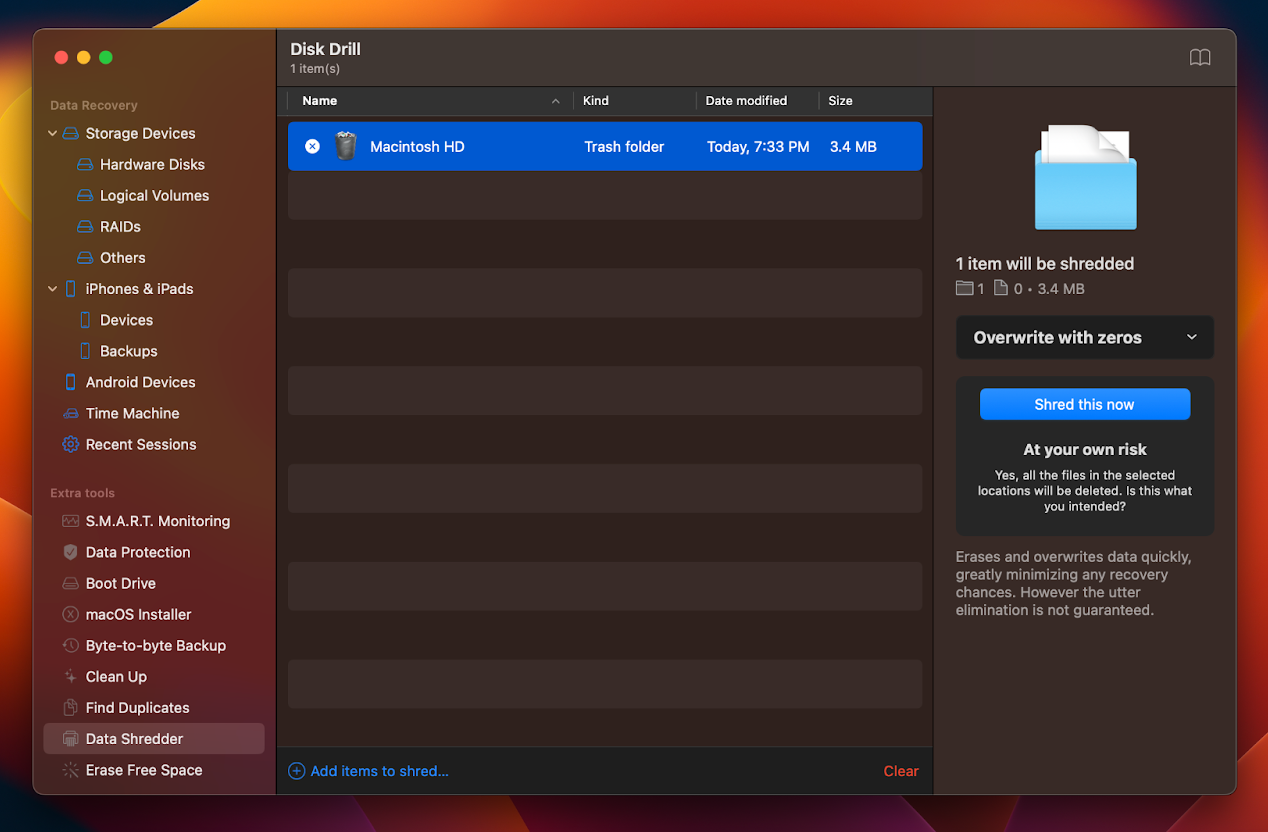
One of the applications that can do this is Disk Drill. It has a feature called Permanent Eraser which can delete individual files and the entire folder, including trash folders on all internal and external drives connected.
To use this Disk Drill feature, here are some steps to follow:
- Download Disk Drill, install, then launch.
- Select your newly formatted drive.
- On the left side panel, select Data Shredder under Extra tools.
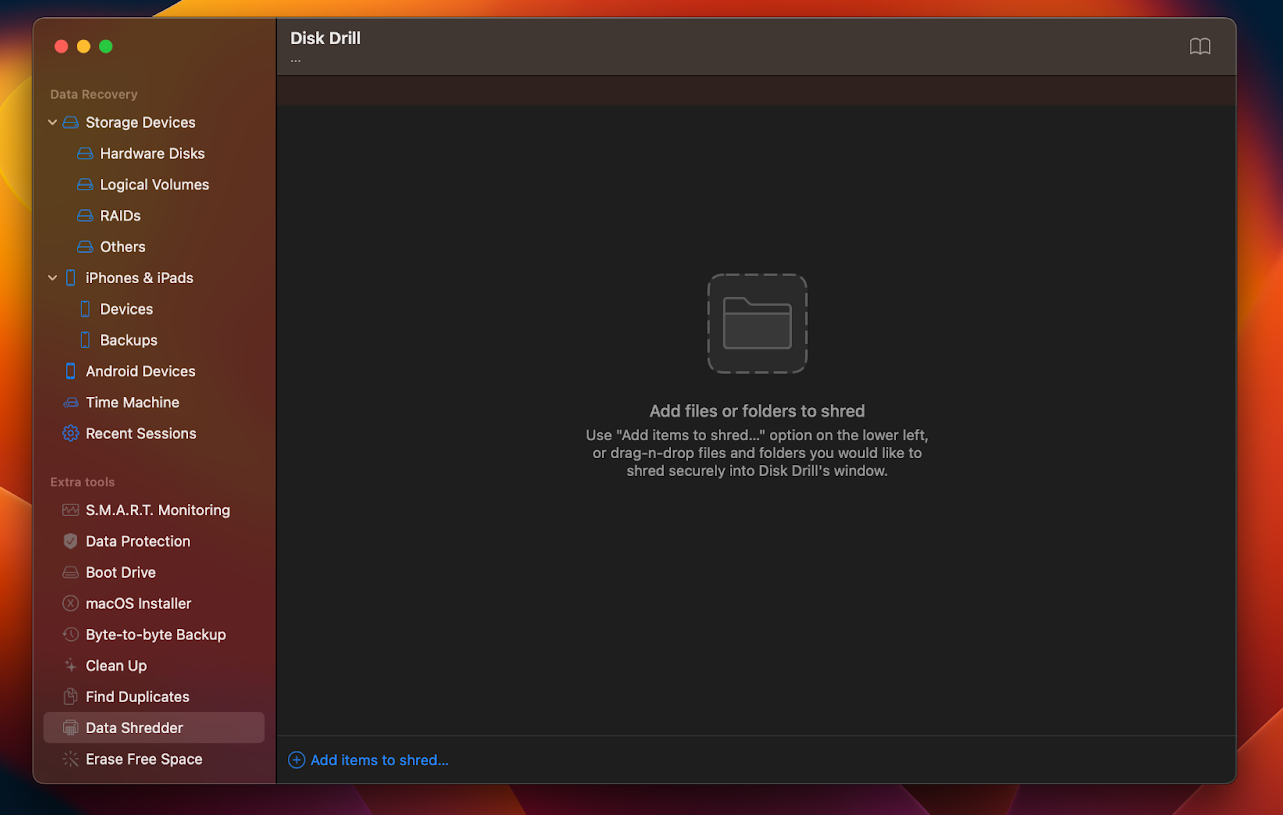
- Select all the files you want to delete permanently.
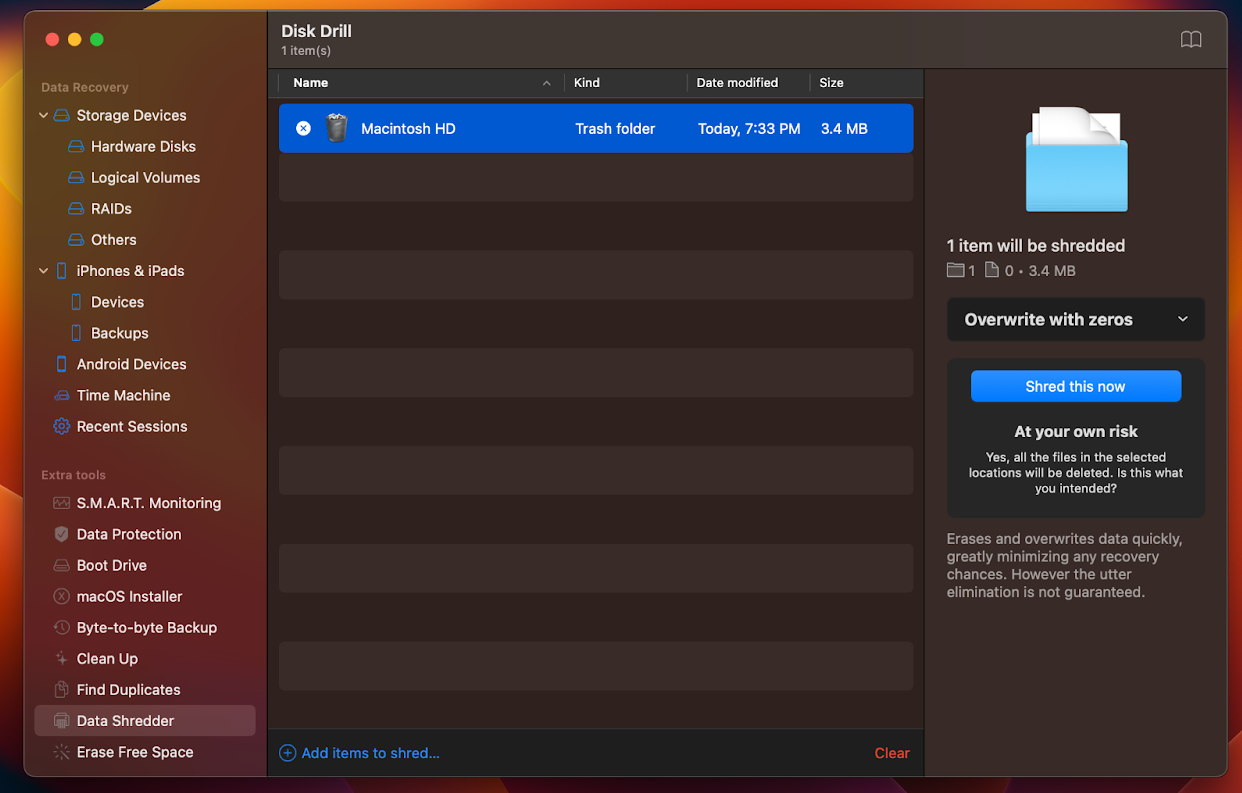
- Click Shred this now and confirm.
Alternatively, you can also use Disk Utility’s Secure Options to protect your data when you format your external hard drive.
FAQs
The best format for an external hard drive for Mac is APFS and exFAT. APFS is faster at everything, from data copying, pasting, and handling. Also, it is more reliable than any other format since Apple addresses all issues on HFS+, especially on its security, making it less prone to file corruption. On the other hand, exFAT is also great for seamless transfer between Mac and PC devices since it’s compatible with both.
Steps to format the drive using Disk Drill and Disk Utility:
- Launch Disk Utility.
- Identify the hard drive.
- Click “Erase”.
- Choose partition and format scheme, rename, and confirm.
- Launch Disk Drill.
- Select the hard drive.
- Click “Search for lost data” and wait.
- Review files recovered.
- Select the files to retain.
- Click “Recover”.
To format your external hard drive for Mac and PC, use an exFAT file system.
- Connect your external hard drive to your Mac.
- Launch Disk Utility, select your hard drive, and click Erase.
- Rename your drive, choose your desired partition scheme, and set your format scheme to exFAT to be compatible with either Mac or Windows.
- Click Erase.
Conclusion
Some built-in apps on Mac can be used to format your hard drive, such as Disk Utility and Terminal. However, you can also utilize some third-party applications that offer formatting for external hard drives. Whichever steps you are comfortable with when formatting your external hard drive, one thing is certain–formatting can help your device improve its performance and its compatibility.