Understanding and managing DNS (Domain Name System) is crucial for a seamless internet experience on your Mac. This comprehensive guide delves into what DNS is, why it’s important to clear its cache, and provides easy-to-follow steps for maintaining optimal DNS performance. Whether you’re troubleshooting connectivity issues or seeking proactive maintenance tips, this article offers valuable insights for users of all technical levels.
What is DNS and Why Clear Its Cache on Mac?
DNS (Domain Name System) is a fundamental component of internet connectivity, acting as the internet’s phonebook. It translates human-readable domain names, like www.example.com, into numerical IP addresses that computers use to communicate with each other. When you access a website, your Mac queries the DNS to find its corresponding IP address.
However, to speed up this process, your Mac stores these translations in a DNS cache. Over time, this cache can become outdated or corrupt, leading to various internet issues. Clearing the DNS cache, also known as flushing DNS, can resolve these problems. Here are a few key reasons to clear the DNS cache on your Mac:
- Resolving Connectivity Issues: Flushing the DNS cache can fix problems like websites not loading or frequent disconnections.
- Privacy Concerns: The DNS cache can reveal your browsing history. Clearing it can help maintain your privacy.
- Updating DNS Information: When a website changes its IP address, clearing the cache ensures you can access the updated site without issues.
Performing a DNS flush on your Mac can significantly enhance your browsing experience. It ensures you’re connecting to the current version of websites and protects your privacy. For more detailed information on DNS and its functioning, visit Cloudflare’s DNS guide.
Remember, flushing your DNS cache is a quick and easy process. Whether you’re looking to reset DNS on Mac for troubleshooting or privacy, it’s an effective solution to ensure a smoother, safer internet experience.
How to Perform DNS Flush on a Mac
Clearing your DNS cache (flushing DNS) on a Mac is a straightforward process. It can improve your internet connectivity and resolve browsing issues. Here’s how to do it:
- Open Terminal: You can find Terminal in your Applications folder, under Utilities, or use Spotlight Search (Command + Space) to search for it.
- Type the DNS Flush Command: Once Terminal is open, type the following command for latest version of macOS:
sudo dscacheutil -flushcache; sudo killall -HUP mDNSResponder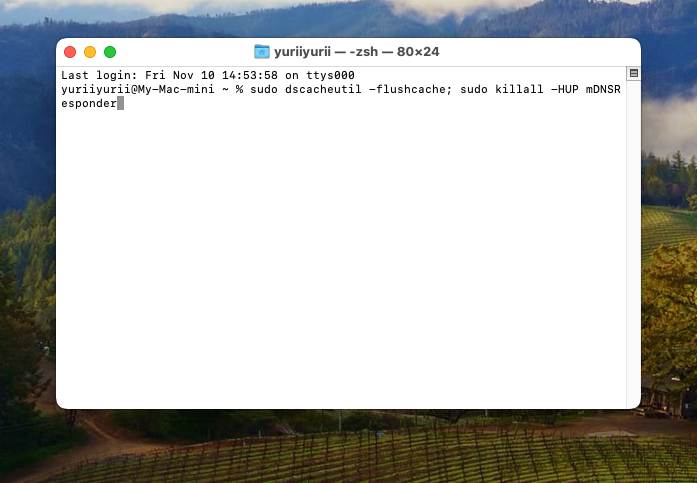
- Enter Your Password: After typing the command, press Enter and input your admin password when prompted. Remember, the password won’t be visible as you type.
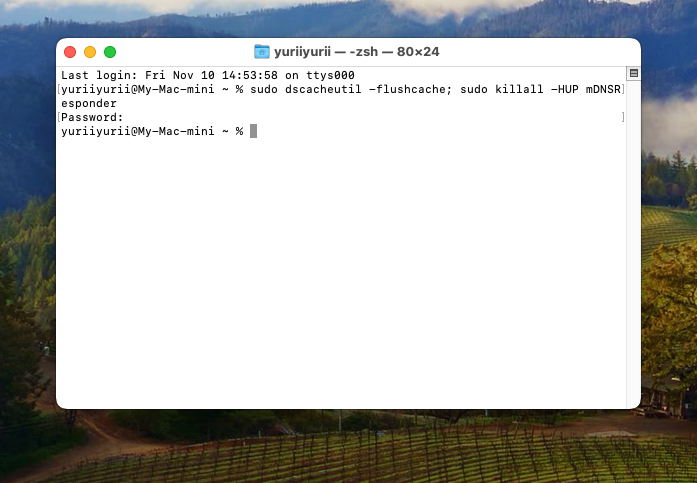
- Close Terminal: Once you’ve entered your password and the command runs, you can close Terminal. The DNS flush is now complete.
Based on your macOS version, the command may vary. Here’s a list for reference:
| macOS Ventura macOS 14 Sonoma macOS 12 Monterey macOS 11 Big Sur macOS 10.15 Catalina |
sudo dscacheutil -flushcache; sudo killall -HUP mDNSResponder |
| macOS 10.14 (Mojave) macOS 10.13 (High Sierra) macOS 10.12 (Sierra) OS X 10.9 (Mavericks) OS X 10.8 (Mountain Lion) Mac OS X 10.7 (Lion) |
sudo killall -HUP mDNSResponder |
| OS X 10.11 (El Capitan) | sudo killall -HUP mDNSResponder |
| OS X 10.10 (Yosemite) | sudo discoveryutil udnsflushcaches |
| Mac OS X 10.6 (Snow Leopard) | sudo dscacheutil -flushcache |
| Mac OS X 10.5 (Leopard) Mac OS X 10.4 (Tiger) |
lookupd -flushcache |
By following these steps, you can clear the DNS cache on Mac efficiently. This process, also known as a DNS flush, can help resolve several internet-related issues and enhance your overall browsing experience. Remember, it’s a safe procedure and won’t affect your personal data.
For additional resources on managing your Mac’s network settings, consider visiting this guide.
Troubleshooting: When DNS Flush on Mac Doesn’t Work
If you’re still experiencing issues after attempting to flush the DNS cache on your Mac, consider these troubleshooting steps:
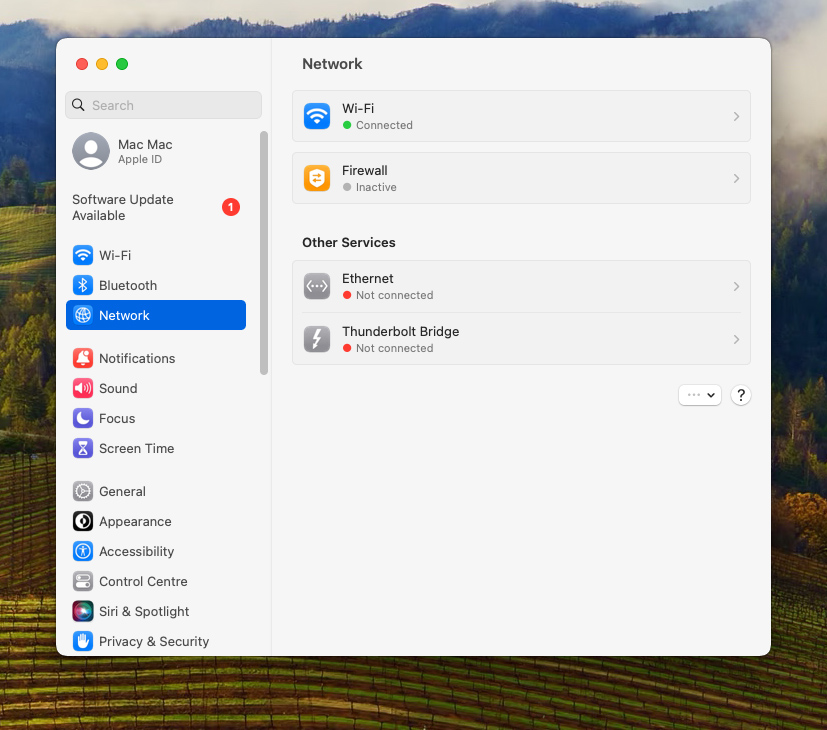
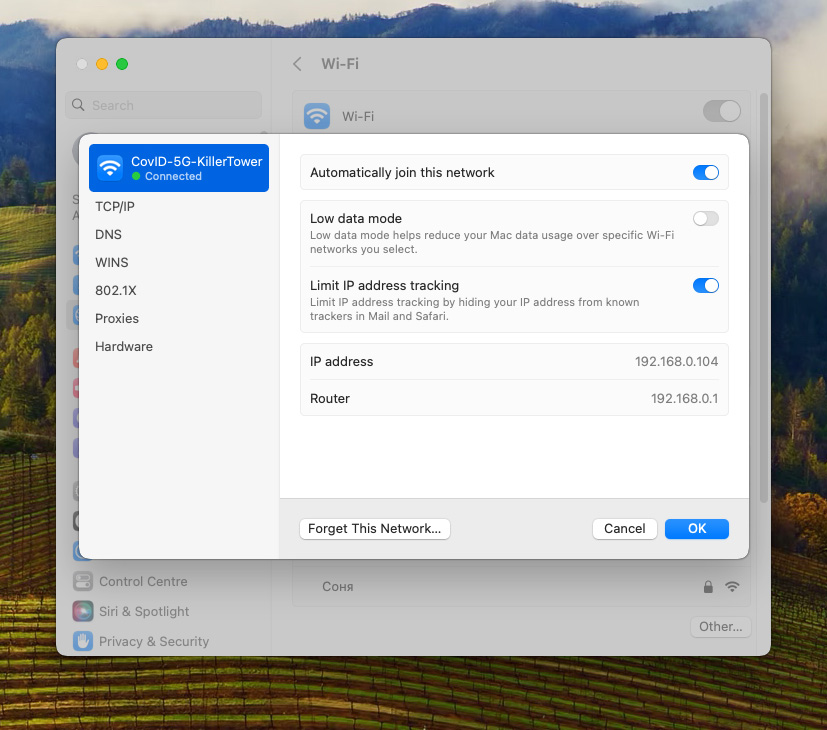
- Check Network Settings: Ensure your Mac is properly connected tothe internet. Verify and adjust network settings in System Preferences > Network.
- Restart Your Mac: Sometimes, a simple restart can resolve lingering issues. Click on the Apple logo and select ‘Restart’.
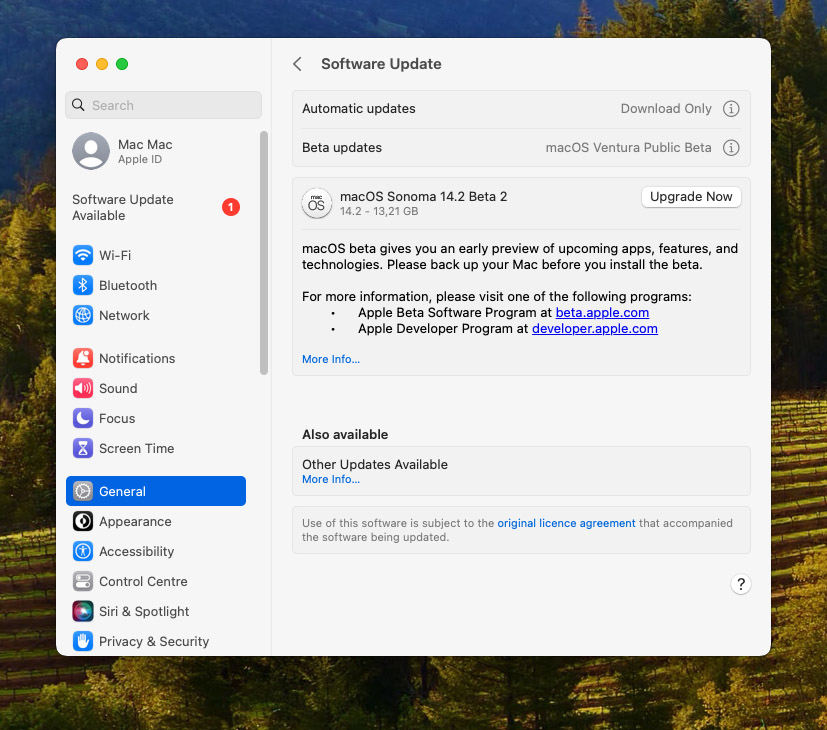
- Update macOS: Ensuring your macOS is up to date is crucial for optimal performance and security. Check for updates in System Preferences > Software Update and install any available updates.
- Reset Network Settings: Navigate to System Preferences > Network, select your Wi-Fi or Ethernet, and click on the ‘Details’ button. Here, you can renew the DHCP lease or reset other configurations.
- Contact Apple Support: If problems persist, seek help from Apple’s Mac Support for more personalized assistance.
These steps can help diagnose and fix issues related to DNS cache and internet connectivity on your Mac.
Preventative Measures: Maintaining Optimal DNS Performance on Mac
Maintaining optimal DNS performance on your Mac involves proactive strategies. Here are essential preventative measures:
- Regular Monitoring of DNS Settings: Routinely check your Mac’s DNS configurations for optimal performance.
- Automated DNS Cache Management: Tools like CleanMyMac X or DNSCrypt can automatically manage and refresh your DNS cache, enhancing both performance and security.
- Choose Reliable DNS Providers: Opt for reputable DNS servers like Google DNS or Cloudflare for faster and more secure browsing.
- Stay Informed on Network Best Practices: Keep abreast of the latest networking trends and recommendations from trusted sources like Macworld.
Adopting these practices can significantly reduce DNS-related issues, leading to a more reliable and efficient internet experience on your Mac.
Conclusion
In conclusion, effective DNS management is key to ensuring a smooth and secure internet experience on your Mac. From understanding the basics of DNS to learning how to clear and manage the DNS cache, this guide has equipped you with the knowledge and tools necessary for resolving common internet issues. Regular maintenance, coupled with the proactive steps outlined, can significantly reduce the frequency of DNS-related problems. Remember, keeping your system updated and consulting trusted resources like Apple Support and Macworld can further enhance your Mac’s performance and security. By following these guidelines, you can navigate the digital world with greater confidence and ease.
FAQ
Yes, flushing the DNS cache on a Mac is a safe procedure. It’s a common troubleshooting step to resolve internet connectivity issues and does not affect your personal data or system settings.
There is no significant downside to flushing the DNS cache. It might result in slightly slower initial website loading times as your system rebuilds the cache, but this is typically negligible.
No, DNS cache is not permanent. It is designed to store DNS lookup information temporarily to speed up internet browsing. The cache is regularly updated and can be manually cleared if needed.