
In today’s digital age, our Macs often become the central hub for our precious photo memories. However, managing these photos can be a daunting task, leading to clutter and affecting the performance of your device. This comprehensive guide aims to simplify the process of managing your photo library on your Mac, from deleting unnecessary imports to optimizing overall storage. Whether you’re a casual user or a photography enthusiast, these insights will help you maintain an organized and efficient photo library on your Mac.
Why Manage Imported Photos on Your Mac?
Managing imported photos is crucial for maintaining optimal performance on your Mac. Over time, our digital photo collections grow, often leading to clutter and inefficient use of storage space. This can significantly impact your Mac’s performance and your overall user experience. Let’s delve into why it’s important to keep your photo library organized and streamlined.
-
Freeing Up Storage Space: High-resolution images and videos consume a considerable amount of storage. Regularly deleting unnecessary photos and videos can free up space, ensuring smoother operation and faster processing speeds.
-
Enhancing Organization: Deleting already imported photos that are no longer needed makes it easier to navigate and organize the remaining photos and videos, making your photo library more manageable and accessible.
-
Improving Mac Performance: A cluttered photo library can slow down your Mac. Removing imported photos and videos that are duplicates or no longer relevant helps maintain the efficiency of your system.
In common scenarios, such as preparing for a backup or when your Mac starts to lag, it becomes necessary to delete imported photos from your Mac. This not only aids in decluttering your storage but also positively affects the performance of your Mac. Remember, a well-organized photo library is key to a seamless and enjoyable computing experience.
Deleting Imported Photos: A Step-by-Step Guide
Effective management of your photo library on your Mac includes knowing how to identify and delete imported photos. This guide will provide you with clear, step-by-step instructions to make this process as straightforward as possible.
-
Open the Photos app on your Mac by clicking the Photos icon in the Dock or in the Applications folder.
-
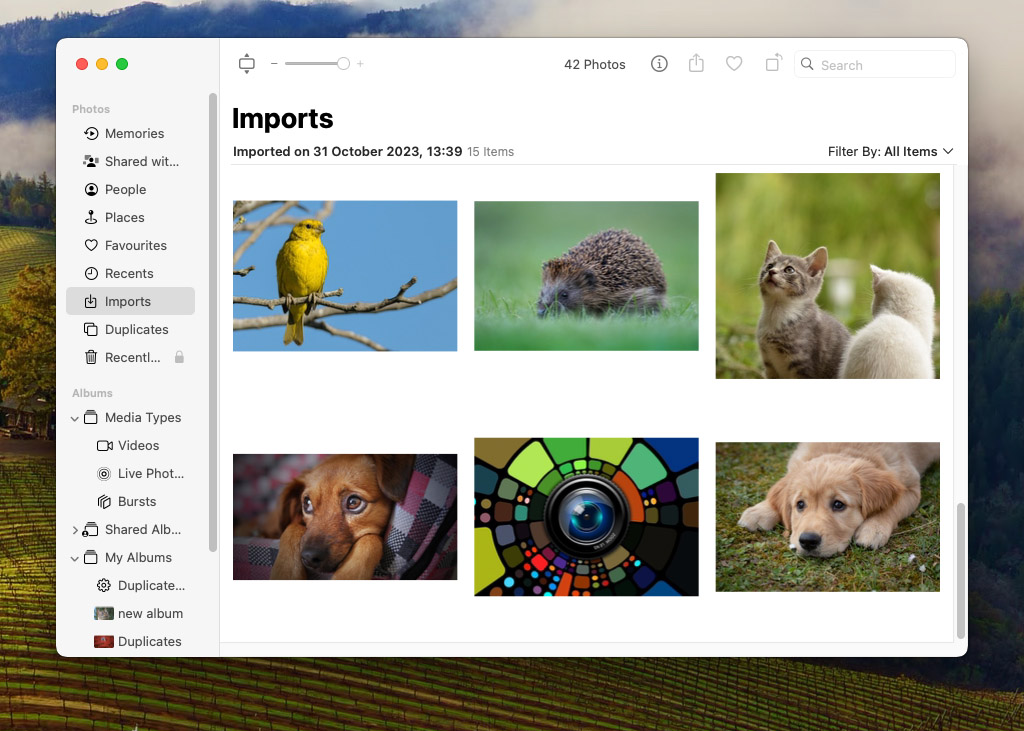
In the Photos app, navigate to the ‘Imports’ tab in the sidebar to view your imported photos and videos organized by import sessions.
-
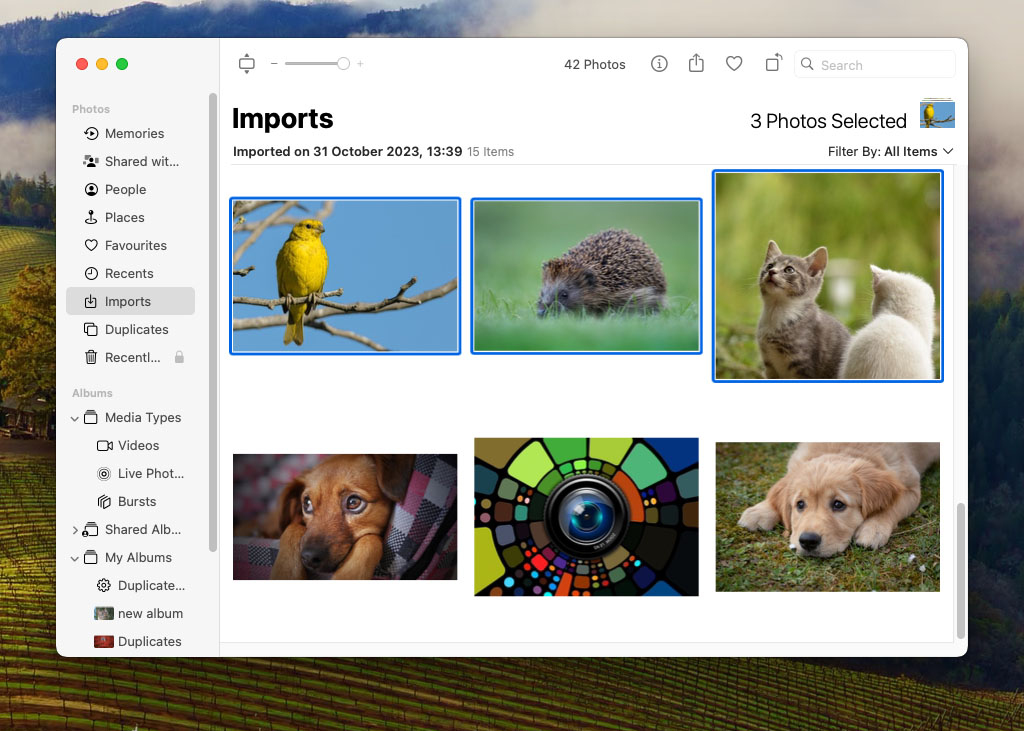
Select the photos you wish to delete. For individual photos, click on the photo to select it. For multiple photos, hold down the Command key and click to select each photo. For an entire album, press Command + A to select all photos within it.
-
Once you have selected the photos, either click the delete button or press Command + Delete on your keyboard.
-
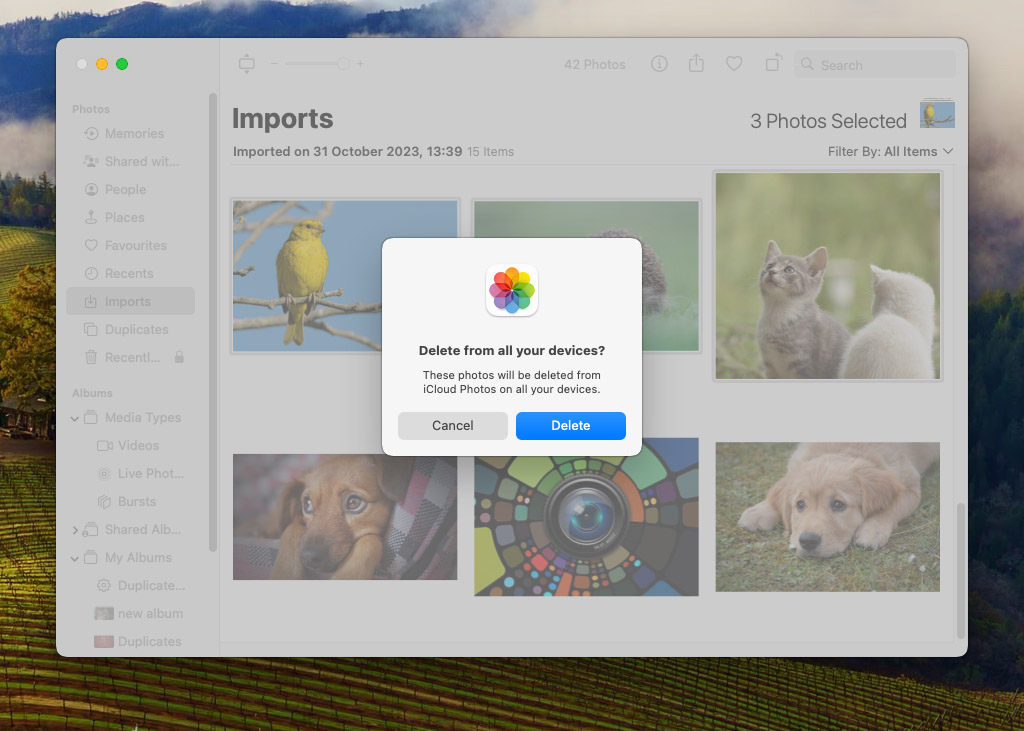
Confirm the deletion by clicking the “Delete Photos” button in the prompt that appears.
This method is useful for selectively removing photos from your various import sessions, whether it’s a single image or multiple. Remember, deleted photos will move to the ‘Recently Deleted’ album and will be permanently removed after 30 days.
Common Challenges and Solutions
Deleting imported photos on your Mac can sometimes present challenges. This section addresses typical problems users might encounter and provides practical solutions and troubleshooting tips.
-
Challenge: Photos Not Deleting Properly
Solution: Ensure you have the necessary permissions to delete the photos. If the issue persists, restart the Photos app and try again. For persistent issues, a system restart might be required. -
Challenge:Challenge: Accidental Deletion of Important Photos
Solution: Use the ‘Recently Deleted’ album in the Photos app to recover any accidentally deleted photos. This album holds deleted photos for 30 days before permanent deletion. -
Challenge: Difficulty in Identifying Photos to Delete
Solution: Use the ‘Sort’ feature in the Photos app to organize photos by date, type, or size. This can help in identifying which photos to delete from imports on your Mac. -
Challenge: Deleted Photos Not Freeing Up Space
Solution: Ensure that the photos are permanently deleted from the ‘Recently Deleted’ album. If the storage issue persists, consider using a disk cleaning tool or check for other large files consuming space.
For more complex issues or additional help, visit Apple’s Support Forum, where you can find a community of users and experts ready to offer advice and solutions. Managing your photo library efficiently can significantly improve your Mac’s performance and your overall user experience.
Optimizing Photo Management on Mac
Efficiently managing and organizing your photo library on your Mac not only helps in avoiding clutter but also enhances your overall computing experience. Here are some tips and strategies for effective photo management, which go beyond merely deleting unwanted photos.
-
Regular Review and Organization: Periodically review your photo library to remove duplicates and irrelevant images. Organize your photos into albums based on events, dates, or themes for easier access.
-
Use of Smart Albums: Utilize the ‘Smart Albums‘ feature in the Photos app to automatically organize photos based on criteria like date, location, or people.
-
Storage Optimization: If your Mac’s storage is limited, consider enabling the ‘Optimize Mac Storage’ option in Photos. This stores full-resolution photos in iCloud and keeps smaller versions on your Mac to save space.
-
Cloud Services for Backup: Use cloud services such as iCloud, Google Photos, or Dropbox for backing up your photos. This not only frees up space on your Mac but also ensures your photos are safe and accessible from any device.
-
External Storage Devices: For large photo collections, consider using an external hard drive or SSD. This is a great way to keep your Mac’s internal storage free, especially for those who delete imports on Mac regularly as a space-saving measure.
In addition to these practices, familiarize yourself with the various tools and settings in the Photos app for more efficient management. For more insights on optimizing your photo storage, check out Apple’s Photo Management Tips.
Remember, prevention is key. Regularly managing your photo library can greatly reduce the need to delete already imported photos and maintain the performance of your Mac over the long term.
Conclusion
Managing your photo library on a Mac is more than just a task; it’s an essential part of ensuring a smooth and enjoyable experience. From freeing up storage space by deleting unneeded imports to optimizing your library with smart organization strategies, each step plays a vital role in maintaining your Mac’s performance. Regular maintenance of your photo library not only prevents clutter but also preserves your cherished memories in a more organized and accessible manner. By following the tips and methods outlined in this guide, you can take control of your digital photo collection, ensuring that your memories are safe, secure, and easily retrievable whenever you wish to reminisce.
FAQ
To delete photos from your Mac without removing them from iCloud, first turn off iCloud Photo sync. Go to System Preferences, click on Apple ID, then iCloud, and uncheck Photos. This will disconnect your photos from iCloud sync, allowing you to delete photos from your Mac without affecting iCloud. Remember to re-enable iCloud Photo sync if you wish to continue syncing in the future.
No, importing photos to your Mac does not automatically delete them from your iPhone. The import process simply copies the photos to your Mac. You have the option to delete them from your iPhone manually if you wish to free up space, but this is not a part of the automatic import process.
Imported photos are stored in the Photos app on your Mac. Within the app, you can find them under the ‘Imports’ tab, which organizes photos by the date they were imported. If you’re using iCloud Photos, these imported images are also available across your devices that are signed in with the same Apple ID.